
Introduction
No-weld exhaust pipe clamps join or repair exhaust sections with mechanical pressure instead of a welding torch. That makes them useful for field repairs, modular systems, serviceable sections, and plenty of production applications.
The real question is whether a clamp can seal, hold, last, and clear surrounding parts on your specific vehicle, truck, or machine. A loose joint does more than make noise. The CDC warns that even a small exhaust leak can let carbon monoxide build up inside a vehicle.
This guide covers clamp selection, installation, and when welding is the better call.
Key Takeaways
- A clamp makes a removable mechanical joint, so style, diameter, material, and fit must match.
- Clamps join pipe; hangers and brackets still carry the weight.
- Serviceability favors clamps; welding suits permanent, high-stress, or heavily customized systems.
- Measure, align, tighten evenly, then recheck for leaks after the first heat cycle.
What Are No-Weld Exhaust Pipe Clamps?
What "no-weld" means in an exhaust system
A no-weld clamp uses a band, saddle, or flange plus fasteners to compress overlapping or mating pipe ends. The metal is never fused. You'll also see it called a clamp-on exhaust repair or a non-welded connection.
Sealing depends on more than the clamp. Pipe condition, fit, overlap, and alignment all matter, as does the clamp design itself. Walker's guidance separates ID-OD slip-fit joints from OD-OD butt joints, and each needs a clamp built for that geometry.
Why clamps and hangers are not interchangeable
A clamp secures a joint. A hanger, bracket, or rubber isolator supports the exhaust's weight and controls movement. Federal rule 49 CFR 393.83 requires secure fastening and allows hangers that accommodate thermal expansion and engine-to-chassis movement.
Inspect the whole support system. Never let a joint clamp carry an unsupported muffler or pipe section.
Where no-weld clamps are commonly used
- Muffler replacement and pipe repairs
- Modular or serviceable exhaust sections
- Fleet maintenance
- Fabricated exhaust systems
- Heavy-duty, agricultural, and industrial equipment
John Deere and Caterpillar both list clamps for specific machines, which shows clamps are real OEM hardware, not just a stopgap. Suitability still depends on:

- Manufacturer requirements
- Temperature and vibration
- Corrosion exposure
- Pipe material
- Whether the joint must be permanent
No-Weld Clamps vs. Welding: Which Connection Method Fits?
Compare the two joining methods
| Factor | No-weld clamp | Welded joint |
|---|---|---|
| Equipment | Hand tools | Welder, skilled operator |
| Removal | Loosen and separate | Usually requires cutting |
| Serviceability | High | Low |
| Adjustability | Repositionable | Fixed |
| Best fit | Serviceable, modular systems | Permanent, rigid, custom work |
Reuse rules vary. Torca describes serviceable joints, but Freightliner requires new exhaust seal clamps after one is loosened or removed. Check the product-specific rule.
When a no-weld clamp is the more practical choice
- Field or DIY repairs without welding gear
- Parts that get replaced often
- Prototype and modular assemblies
- Systems where future access matters
Don't treat clamps as automatically temporary. A properly selected, correctly installed, well-supported clamp suits demanding work.
When welding or a hybrid connection may be better
Welding makes sense for highly customized systems, severe duty, or joints that need maximum rigidity. Hybrids work too, with welded sections joined by a clamped service joint.
If you weld, use a qualified technician. I-CAR's welding guidance calls for disconnecting the battery and protecting nearby modules, sensors, and wiring. Also consider catalytic converters, oxygen sensors, fuel lines, and flammable trim.
How to Choose the Right No-Weld Exhaust Pipe Clamp
Match the clamp to the pipe and joint design
- Measure the actual outside diameter of the pipe.
- Identify the joint type: slip-fit, butt, lap, or flanged.
- Confirm the straight pipe length and overlap available for the clamp.
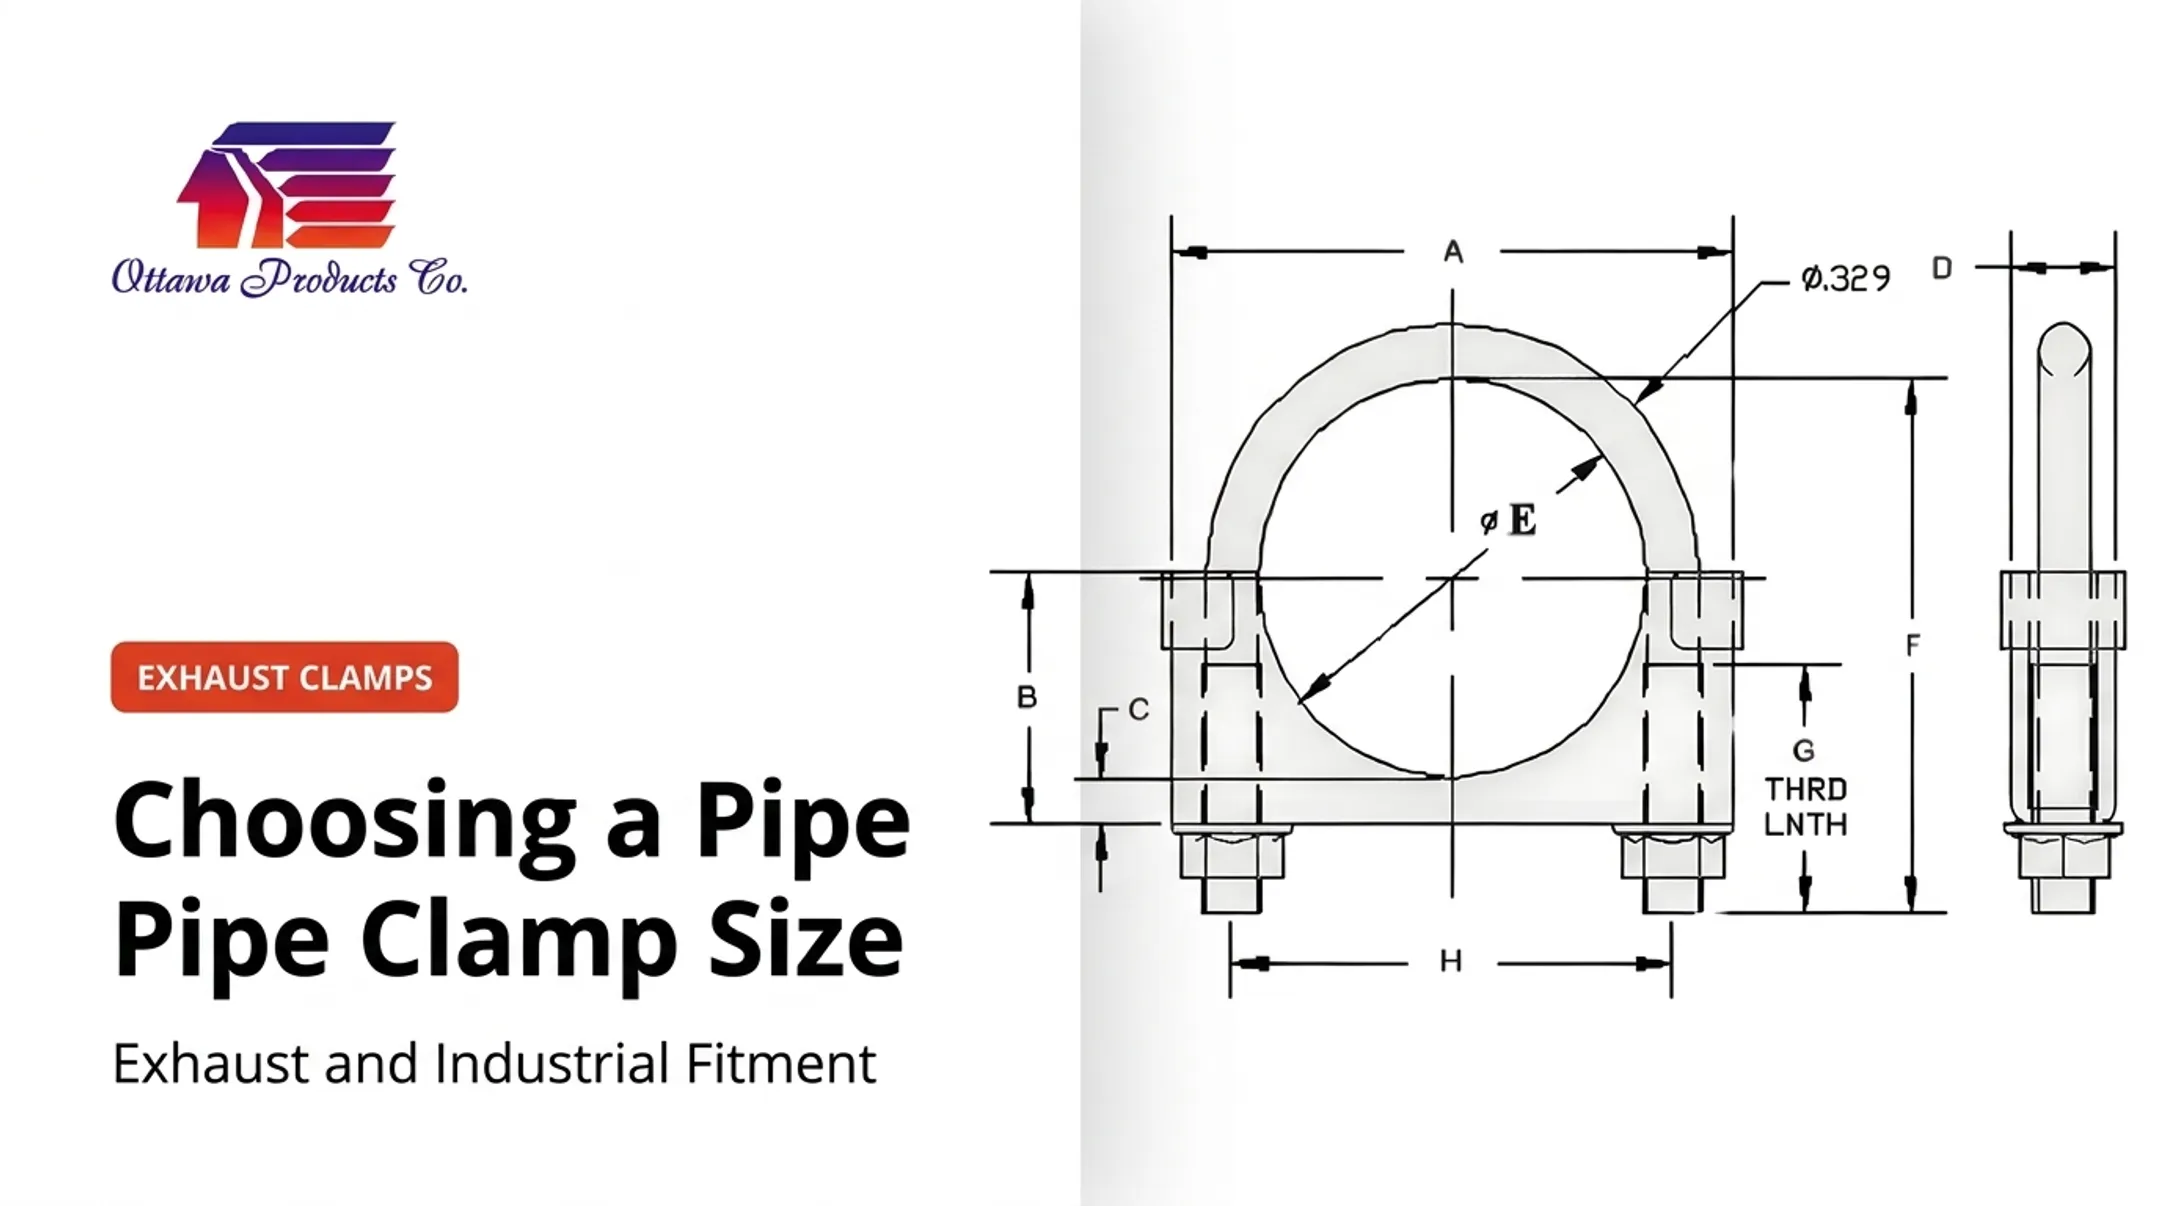
Never pick by nominal size or looks. Donaldson sizes U-bolts by pipe OD but lists bent-bolt clamps by nominal ID ranges. Those sizing systems aren't interchangeable. A mismatch causes poor compression, leaks, distortion, or loosening.
Select the appropriate clamp style
- Saddle/U-bolt and guillotine: Common for slip-fit joints. Guillotine styles deform the pipe for a 360-degree seal, so serviceability is poor.
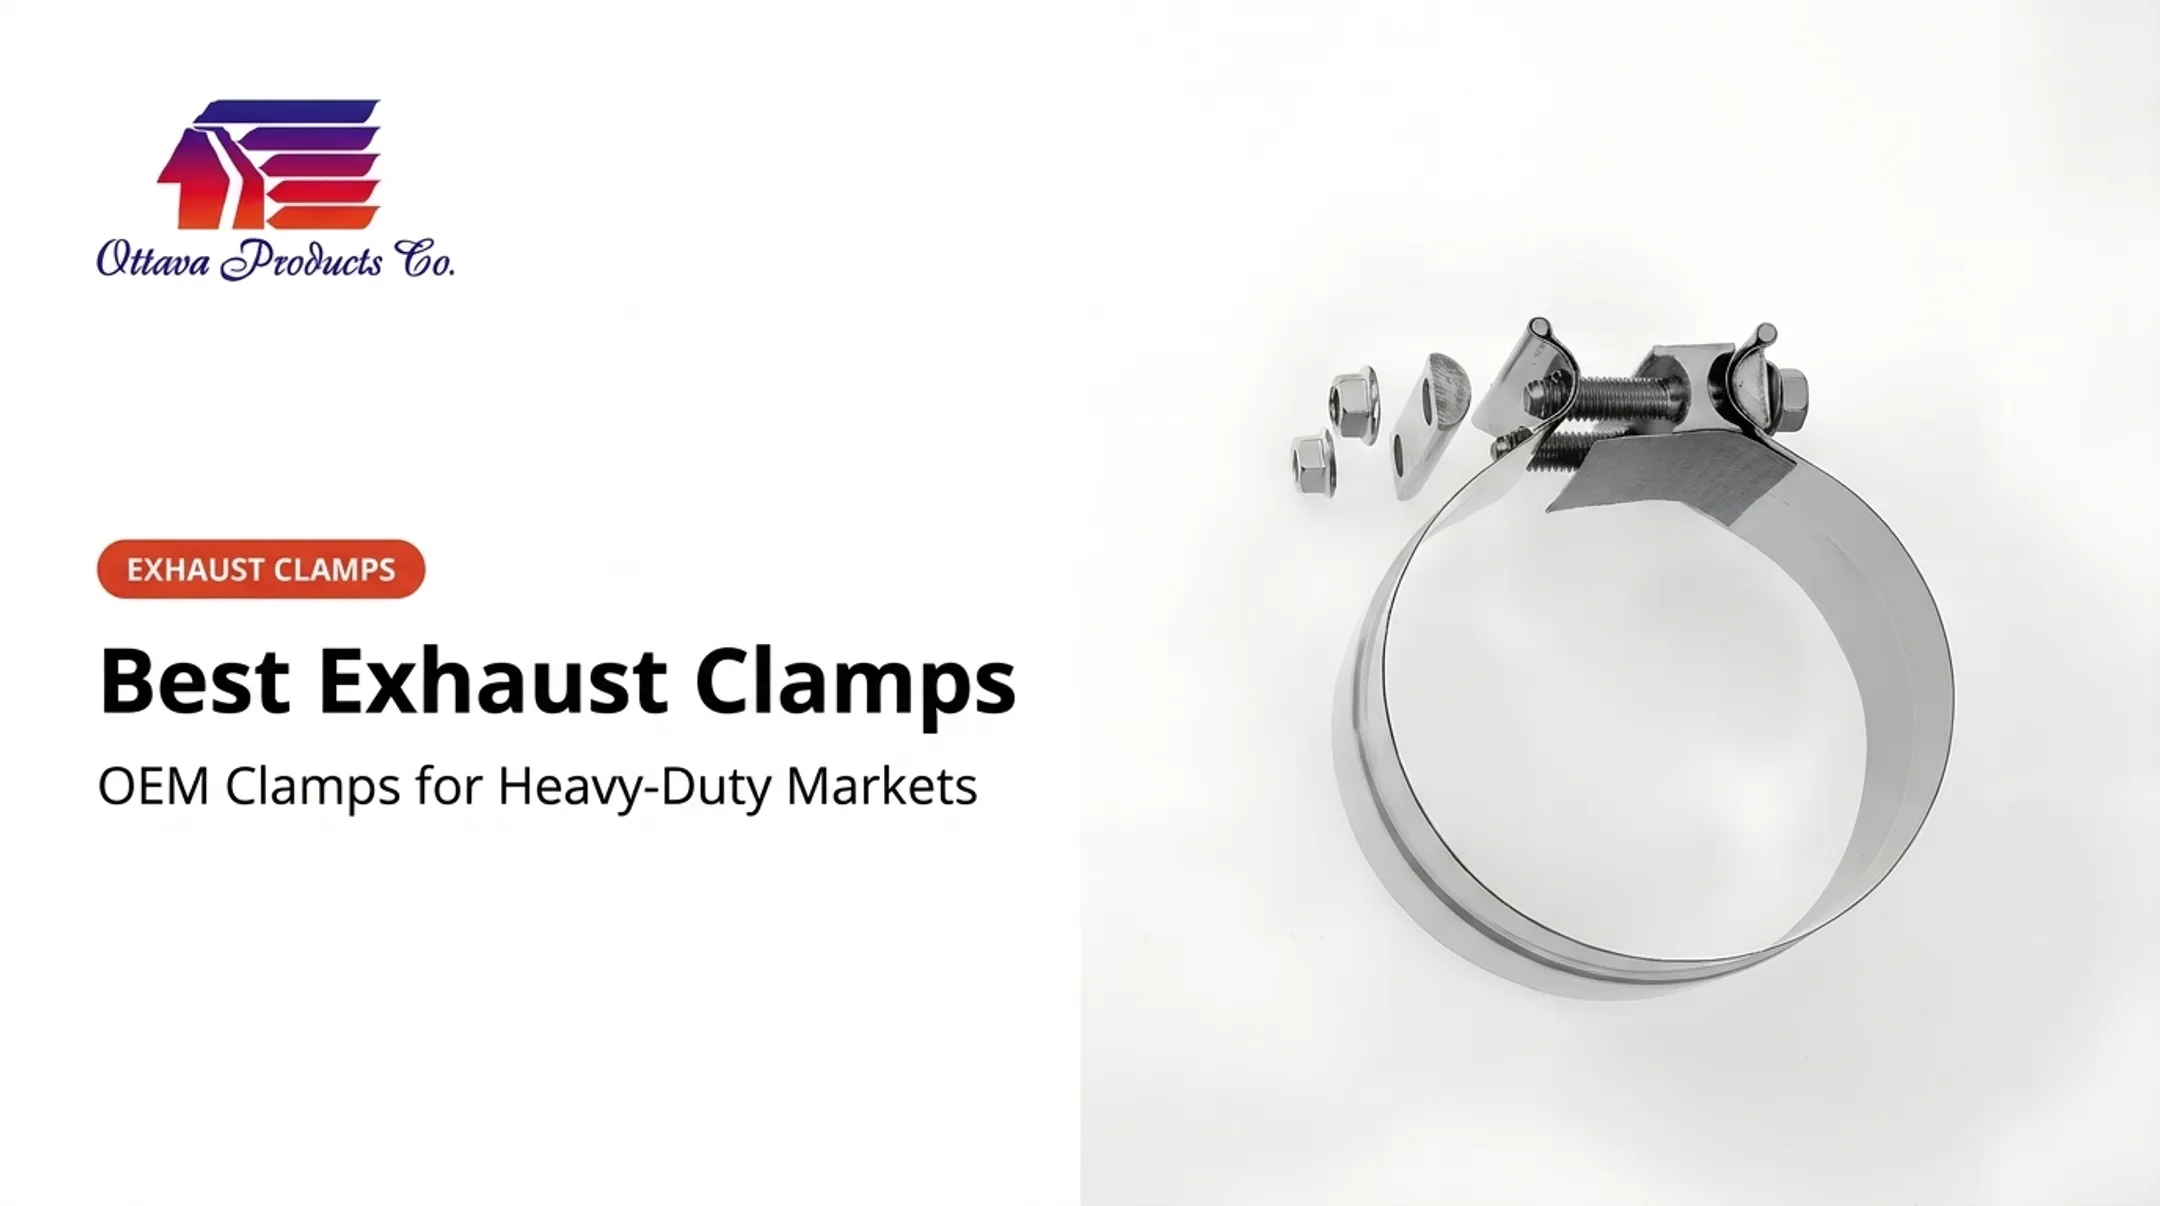
- Band clamps: Spread load around the circumference. Walker rates band products differently, so not all bands seal equally.
- Lap-joint bands: Suit ID-OD slip fits, ideally with compression slits.
- V-band: Matching flanges allow quick release, though the flanges are often welded on first.
No style is universally best. Verify fitment guidance from the manufacturer.
Consider materials and operating conditions
Review the manufacturer's material and temperature specifications. Torca lists aluminized steel, 409, and 304 stainless; Murray lists 430 and 304. Those are product-specific offerings, not equivalents.
Think about road salt, moisture, off-road use, vibration, and heat cycling. Nelson cites average exhaust-system temperatures of 800-1400°F, and Snap-on reports diesel active regeneration at 1100-1300°F.

Evaluate the condition of the existing exhaust
A clamp can't fix a bad pipe. Watch for:
- Rust-through or thin-wall tubing
- Cracks and crushed pipe ends
- Uneven cuts or damaged threads
- Too little overlap
Severely weakened or misaligned pipe needs replacement, reshaping, fabrication, or welding, not a tighter clamp.
Source components for the intended application
OEM, fleet, agricultural, fabricator, and MRO buyers should send a quote request with:
- Pipe dimensions and material
- Connection type
- Operating environment
- Expected volume
- Support requirements
- Drawings or specifications
Ottawa Products Co. is a U.S.-based manufacturer of OEM exhaust clamps, hangers, bent bolts, and related components, made in Curtice, Ohio. Its quality system is ISO 9001:2015 certified, and its quoting and engineering teams support application-specific requirements. Confirm availability and specifications before ordering.
How to Install and Inspect a No-Weld Clamp
Prepare the vehicle and work area safely
- Let the exhaust cool completely.
- Chock the wheels and set the parking brake.
- Use properly rated jacks and stands. OSHA 1910.244 requires securing equipment immediately after lifting.
- Wear gloves and eye protection.
Follow the service instructions for your vehicle or equipment. Never work under an unsupported vehicle.
Inspect, measure, and test-fit the joint
Clean off rust, soot, and scale. Remove burrs, check for cracks, and confirm the pipe ends are round, aligned, and long enough for the clamp.
Dry fit before tightening. Walker recommends leaving fasteners loose at first, then tightening after centering. Confirm the pipe, muffler, and hangers clear the frame, body, suspension, wiring, and fuel lines.
Position the clamp correctly
Center the clamp over the overlap. Keep the hardware reachable, and don't straddle damaged or unsupported metal. Donaldson's stepped band, for example, puts the step at the joint and calls for alternating bolt tightening.
Tighten evenly to the manufacturer's instructions. No universal torque value exists, and overtightening can deform the pipe.
Confirm support, alignment, and clearance
- Confirm factory hangers and brackets hold the system.
- Ensure the clamp isn't the sole support for a heavy muffler.
- Verify tailpipe routing and heat shielding are adequate.
- Check that nothing touches the exhaust as the engine and suspension move.
Check for leaks and recheck after operation
From a safe position, look and listen for hissing, ticking, soot marks, odd smells, or louder exhaust. Let the system cool before adjusting anything.
Recheck the clamp, hangers, clearance, and joint after the first heat cycle. Flowmaster's instructions for one kit call for the same recheck after the first test drive.

Applications, Limitations, and Maintenance
Match the connection method to the application
- Passenger vehicles: Fit and serviceability.
- Class 6-8 trucks and trailers: Vibration, support, and OEM maintenance rules.
- Agricultural and construction equipment: Equipment-specific fitment.
- Fabricators and fleet shops: Repeatability and sourcing.
Production and heavy-duty buyers should confirm drawings, materials, quality expectations, and OEM or regulatory requirements before standardizing a clamp.
Recognize limitations and compliance concerns
A clamp can't compensate for missing pipe, severe corrosion, poor support, bad routing, or a joint without adequate overlap.
Compliance rules set hard boundaries as well:
- Keep emissions-control components in place; EPA tampering policy covers defeat devices
- 49 CFR 393.83 prohibits temporary wrap or patch repairs and exhaust leaks forward of or beneath the cab
- Noise and inspection rules vary by state, so check yours before modifying anything
Maintain the joint over time
Inspect for:
- Clamp tension and corrosion
- Cracks and soot deposits
- Pipe movement
- Hanger condition and clearance
- New noise or exhaust odor
Thermal cycling can loosen connections, according to Murray. Follow the component maker's guidance and your service schedule. Freightliner inspects at scheduled maintenance and whenever noise increases.
Frequently Asked Questions
Can you attach a muffler using no-weld exhaust clamps instead of welding?
Yes, when the clamp is sized for the joint. Donaldson's stepped clamp seals muffler inlets and outlets. Hangers are usually still needed, and damaged pipe or high-stress use calls for another repair.
What can I use to hang or secure my exhaust without welding?
Use hangers, brackets, rubber isolators, or bent bolts. Clamps join pipe; they don't support weight. The hardware must match the vehicle or equipment design.
What type of clamp is best for an exhaust pipe?
It depends on diameter, joint style, material, temperature, vibration, corrosion, and serviceability. No single clamp wins everywhere.
Do no-weld exhaust clamps leak?
They can, from wrong sizing, poor overlap, damaged pipe, misalignment, uneven tightening, or weak support. Inspect after installation and again after the first heat cycle.
How do you install no-weld exhaust pipe clamps?
Cool the system and secure the vehicle. Measure, clean, and dry fit, then center the clamp and tighten evenly per the manufacturer. Check clearance and inspect for leaks.